7 Shopify Flow Automations to Streamline Inventory, Orders, and Store Operations
Affiliate Disclosure: We review products independently. When you buy through our links, we may earn a commission or a compound recurring commission at zero extra cost to you. Read our editorial policy.
Running a Shopify store involves much more than listing products and processing payments. As order volumes increase, routine operational tasks can quickly consume time. Store owners and their teams must monitor stock levels, review suspicious orders, organize customer records, track discounts, and keep fulfillment moving.
Many of these activities follow predictable rules. A product falls below a particular stock level. An order meets a certain value threshold. A customer crosses a spending milestone. A discount exceeds the limit set by the store owner. Each event requires someone to notice it and take action.
Shopify Flow helps automate these repetitive decisions without requiring a custom-coded application.
Shopify Flow is a free automation app that lets merchants create workflows using triggers, conditions, and actions. It can automate tasks within Shopify and, through supported connectors, coordinate actions across other business applications.
Instead of manually checking every order or product, merchants can define the conditions that matter and let workflows respond when those conditions are met.
This guide explores seven practical Shopify Flow automations that can help small and growing ecommerce businesses manage inventory, orders, customer records, and everyday store operations.
What Is Shopify Flow and How Does It Work?
Shopify Flow is an ecommerce automation platform available as a free app on Shopify’s Basic, Grow, Advanced, and Plus plans.
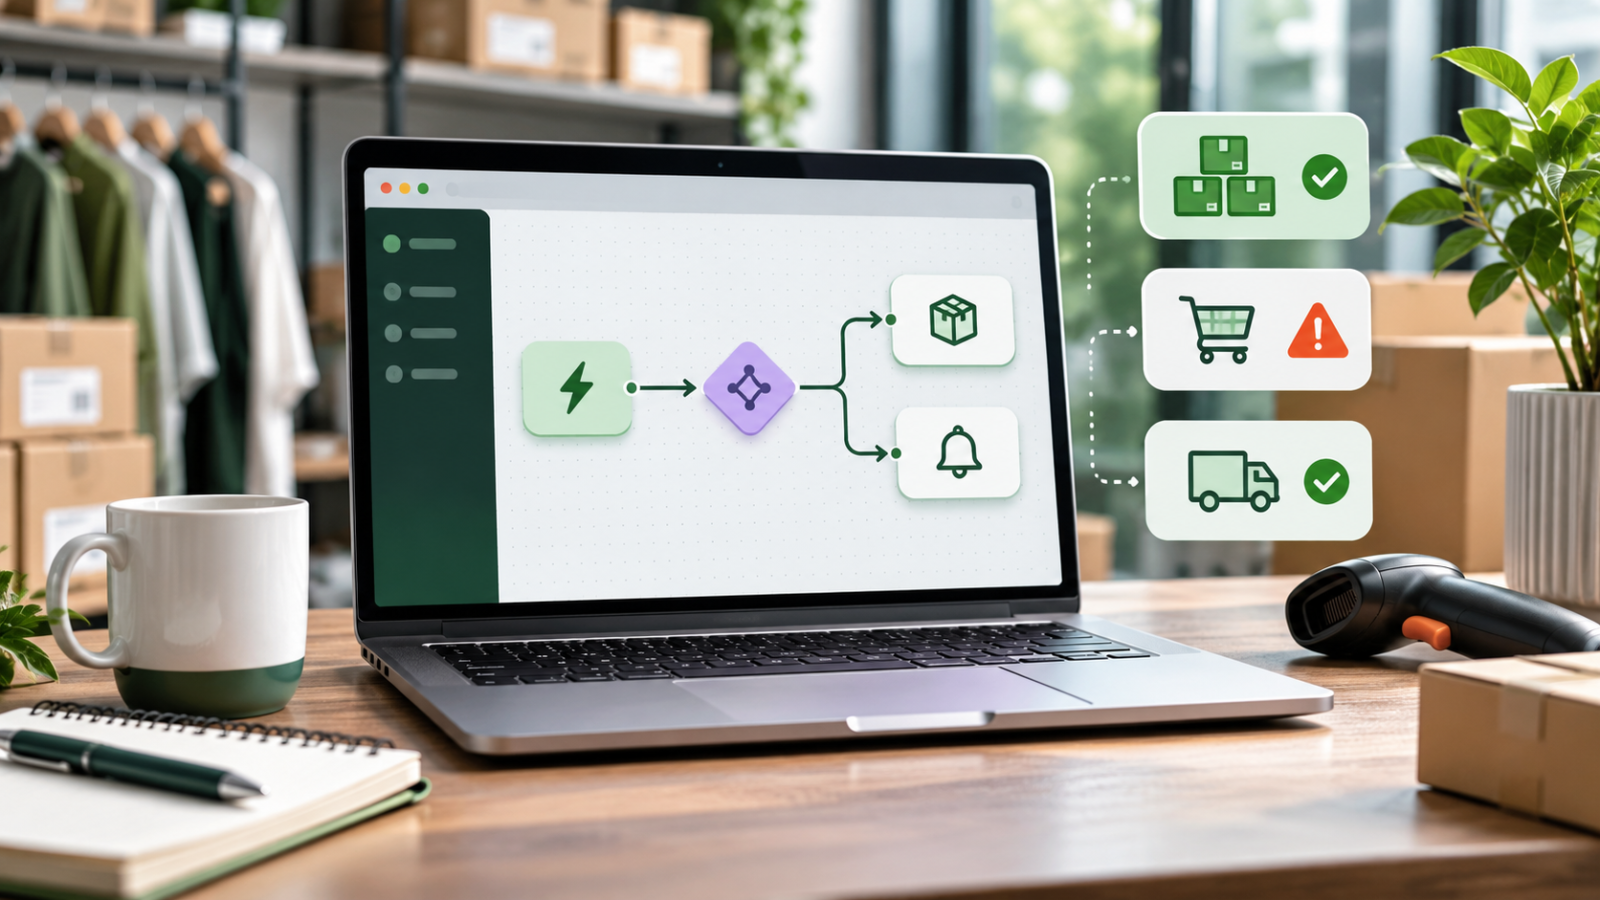
It uses a visual workflow editor in which merchants connect three basic components:
- Triggers: Events that start a workflow. Examples include an order being created, a customer being added, or inventory changing.
- Conditions: Rules that determine whether the workflow should proceed. These can evaluate order value, customer information, inventory quantities, product details, and other available data.
- Actions: Tasks performed when the required conditions are met. These can include adding tags, sending internal notifications, updating inventory, holding fulfillment, or interacting with connected apps.
For example, imagine a store wants to identify customers who place orders worth more than $500. A workflow can start when an order is created, check whether the order value meets the threshold, and add a VIP tag to the customer if the condition is satisfied.
This eliminates the need to review orders manually just to identify high-value customers.
You can explore the platform in Shopify’s official Flow documentation.
7 Shopify Flow Automations Worth Setting Up
The following examples focus on common operational situations faced by ecommerce businesses. Each automation includes the business problem, the workflow logic, and the steps involved in configuring it.
1. Get Low-Inventory Alerts Before Products Run Out
The problem: Selling a product without realizing that its inventory is running low can create fulfillment delays, missed sales, and unnecessary customer dissatisfaction.
Manually checking stock levels across hundreds of product variants is not a practical solution for a growing store.
Shopify Flow can monitor inventory changes and notify the relevant team when a product reaches a predefined stock threshold.
How to build the workflow:
| Workflow component | Configuration |
|---|---|
| Trigger | Product variant inventory quantity changed |
| Condition 1 | Current inventory quantity is less than or equal to 5 |
| Condition 2 | Previous inventory quantity was greater than 5 |
| Action | Send an internal email notification |
Setup steps:
- Open Shopify Admin and navigate to Apps > Flow.
- Select Create workflow.
- Choose the Product variant inventory quantity changed trigger.
- Add a condition to check whether the current inventory quantity is 5 or lower.
- Add another condition to check whether the previous quantity was above 5.
- Connect the True branch to the Send internal email action.
- Configure the notification recipient and message.
- Review the workflow and activate it.
The previous-inventory condition is important. Without it, the store could receive repeated alerts every time another unit is sold while stock remains below five.
The threshold is only an example. A business selling fast-moving products might choose 10 units, while a store selling expensive or slow-moving products may prefer a lower threshold.
Why it matters: The purchasing or inventory team receives an alert when a product crosses the chosen threshold, giving them an opportunity to plan replenishment before stock runs out.
Shopify also provides a ready-made low-inventory notification workflow.
2. Automatically Hide Products When They Go Out of Stock
The problem: A product may remain visible on the online store even after its inventory has reached zero. This can lead to customers discovering that an item is unavailable only after they have decided to purchase it.
For stores managing a large catalog, manually unpublishing every unavailable product can become another repetitive task.
Shopify Flow supports workflows that unpublish products from selected sales channels when inventory conditions are met.
How to build the workflow:
| Workflow component | Configuration |
|---|---|
| Trigger | Variant out of stock or inventory quantity changed |
| Condition | Product inventory meets the store’s out-of-stock rule |
| Action | Unpublish product from the Online Store sales channel |
Setup steps:
- Create a new workflow in Shopify Flow.
- Select an inventory-related trigger, such as Variant out of stock.
- Configure the conditions to ensure the product meets the intended stock rule.
- Add the Unpublish product action.
- Select the Online Store publication.
- Review the conditions and activate the workflow.
An important distinction: a product can have multiple variants. If a T-shirt is available in medium and large but unavailable in small, the store may not want to hide the entire product.
The workflow should therefore reflect the store’s actual merchandising policy. If the intention is to hide a product only when all its variants are unavailable across the relevant locations, use the appropriate inventory checks rather than treating one unavailable variant as an out-of-stock product.
What about restocking?
You can create a separate workflow to republish a product when inventory becomes available again. Shopify provides a Publish product action and templates for publishing and unpublishing products based on inventory levels.
This creates a more complete inventory management process without requiring someone to manually update product visibility every time stock changes.
See Shopify’s documentation for unpublishing products and publishing products.
3. Flag High-Risk Orders for Manual Review
The problem: Not every order should move directly into fulfillment. Orders flagged by Shopify’s fraud analysis may require additional attention before payment capture or shipment.
Manually identifying such orders can slow down the operations team, particularly during high-volume sales periods.
Shopify Flow can help identify high-risk orders and notify the relevant staff members.
How to build the workflow:
| Workflow component | Configuration |
|---|---|
| Trigger | Order risk analyzed |
| Condition | Order risk level is High |
| Action 1 | Add a review-required order tag |
| Action 2 | Send an internal email notification |
Setup steps:
- Create a new workflow in Shopify Flow.
- Choose Order risk analyzed as the trigger.
- Add a condition to check whether the order’s risk level is High.
- Connect the True branch to Add order tags.
- Use a tag such as
Manual Review Required. - Add a Send internal email action to notify the operations team.
- Review and activate the workflow.
Why use Order risk analyzed instead of Order created?
Fraud analysis may take some time to complete after an order is placed. Shopify recommends using the Order risk analyzed trigger when building workflows that depend on fraud-analysis results.
This ensures the workflow evaluates the order after the risk information is available.
For most small businesses, sending an alert and flagging the order for manual review is a sensible starting point. Automatically cancelling orders or capturing payments based on risk conditions requires additional care.
In particular, workflows designed to control payment capture require the store’s payment settings to be configured for manual capture. They should be tested carefully before activation.
Read Shopify’s guidance on managing high-risk orders with Shopify Flow.
4. Identify and Tag High-Value Customers Automatically
The problem: Repeat customers and customers who spend more than average can be valuable to an ecommerce business. However, identifying these customers manually can be difficult as the customer database grows.
Customer tags make it easier to organize customer records and build segments for marketing, loyalty, and customer service activities.
Shopify Flow can automatically add a customer tag when an order meets a predefined spending threshold.
How to build the workflow:
| Workflow component | Configuration |
|---|---|
| Trigger | Order created |
| Condition | Order total is greater than or equal to $500 |
| Action | Add customer tag: VIP |
Setup steps:
- Create a workflow and select Order created.
- Add a condition that checks the order’s total amount.
- Set the threshold to $500 or another amount appropriate for your business.
- Connect the True branch to the Add customer tags action.
- Enter
VIPas the customer tag. - Save and activate the workflow.
You can also create separate thresholds for different customer groups, such as:
VIP CustomerHigh Value OrderRepeat Buyer
One important consideration: this example evaluates the current order, not the customer’s lifetime spending. If you want to classify customers based on their total historical spend, you need a workflow that checks the customer’s lifetime amount or uses an appropriate customer-segment lookup.
Once customers are tagged, you can use those tags to organize customer records and build more targeted marketing segments.
For a closer look at customer organization, see our guide to Shopify Customer Segments vs. Klaviyo Lists.
5. Get Notified When an Order Receives an Unusually Large Discount
The problem: Discount codes are useful for promotions, but unusually large discounts can reduce margins or indicate that a promotional rule has been configured incorrectly.
For a store running multiple campaigns, manually reviewing every discounted order is inefficient.
Shopify Flow can monitor new orders and notify staff when a discount exceeds a threshold defined by the business.
How to build the workflow:
| Workflow component | Configuration |
|---|---|
| Trigger | Order created |
| Condition | Order discount exceeds the chosen threshold |
| Action | Send an internal email notification |
Setup steps:
- Create a new workflow using Order created.
- Add a condition to evaluate the discount information available in the order data.
- Define the threshold that should trigger a review.
- Connect the True branch to Send internal email.
- Configure the notification with the order details available through workflow variables.
- Save and activate the workflow.
For example, a store that normally offers discounts of up to 20% could use a higher threshold to flag orders that require attention.
The exact condition depends on how the store structures its discounts. If you want to monitor the percentage discount rather than the monetary discount amount, make sure you select the correct available order variable and compare like-for-like values.
Why it matters: The team can review unusual discount activity without having to inspect every promotional order.
Shopify lists a large-discount notification template among its available workflow examples.
6. Notify the Fulfillment Team About Expedited Orders
The problem: Customers who pay extra for faster shipping expect their orders to be handled accordingly. If expedited orders are mixed with standard orders, the fulfillment team may overlook them.
Shopify Flow can identify orders using a particular shipping method and notify the team.
How to build the workflow:
| Workflow component | Configuration |
|---|---|
| Trigger | Order created |
| Condition | Selected shipping method matches the expedited option |
| Action 1 | Add order tag: Expedited Shipping |
| Action 2 | Send internal email to fulfillment |
Setup steps:
- Create a workflow using the Order created trigger.
- Add a condition to check the shipping-line information available in the order data.
- Set the condition to match your expedited shipping service or shipping title.
- Add the Add order tags action.
- Enter
Expedited Shippingas the tag. - Add Send internal email and configure the fulfillment team’s address.
- Review the workflow and activate it.
The exact shipping condition will depend on the names and shipping services configured in your store. Make sure the workflow checks the correct shipping-line field rather than assuming that every store uses the same service names.
Why it matters: Expedited orders become easier to identify, and the fulfillment team receives a notification without relying on someone to manually monitor the order list.
Shopify includes a related template for emailing the logistics team when orders need to be expedited.
7. Create a Daily Summary of Unfulfilled Orders
The problem: Reviewing fulfillment status throughout the day can become time-consuming, especially when a store receives orders across multiple channels or operates with a small team.
Instead of checking the order dashboard repeatedly, merchants can use a scheduled Shopify Flow workflow to generate a daily summary.
This is particularly useful for stores that want a regular operational overview rather than an alert for every individual order.
How to build the workflow:
| Workflow component | Configuration |
|---|---|
| Trigger | Scheduled time |
| Action 1 | Get order data |
| Condition / processing | Retrieve relevant unfulfilled orders |
| Action 2 | Send an internal email summary |
Setup steps:
- Create a new workflow using the Scheduled time trigger.
- Set the workflow to run daily at a suitable time.
- Add the Get order data action.
- Configure the query to retrieve orders matching your unfulfilled-order criteria.
- Add the necessary processing steps to prepare the order information.
- Connect the results to a Send internal email action.
- Configure the email to include useful order details, such as order names and fulfillment information.
- Review the workflow and activate it.
Shopify Flow supports scheduled workflows, data retrieval, and looping through returned records. This makes it possible to build a daily operational summary instead of relying entirely on individual event-based notifications.
There are limits to how many records a workflow can retrieve and process, so stores with high order volumes should check those limits and consider splitting reporting into smaller queries.
You can find examples in Shopify’s guide to scheduled workflows, Get order data, and loops.
Is Shopify Flow Free? Plans and Availability
One of Shopify Flow’s biggest advantages is that the app itself is free.
Shopify currently makes Flow available on the Basic, Grow, Advanced, and Plus plans. However, some capabilities vary by subscription tier.
| Shopify plan | Shopify Flow availability | Important limitation |
|---|---|---|
| Basic | Available | Send HTTP Request is not included |
| Grow | Available | Supports Send HTTP Request |
| Advanced | Available | Supports Send HTTP Request |
| Plus | Available | Includes additional support for tasks created by custom partner apps |
The Send HTTP Request action is particularly relevant for businesses that want to send data to external systems or APIs. It is available on Grow, Advanced, and Plus plans.
Some third-party workflow actions also depend on the apps and connectors installed in the store. The availability of an action should therefore be checked before designing a workflow around it.
For current subscription details, refer to Shopify’s official pricing page and its Shopify Flow plan requirements.
Shopify Flow vs. Third-Party Automation Tools
Shopify Flow is useful for automating ecommerce tasks, but it is not intended to replace every automation platform.
The right choice depends on how much of your workflow takes place inside Shopify and how many external systems need to communicate with one another.
| Requirement | Shopify Flow | Third-party automation platform |
|---|---|---|
| Automate Shopify inventory events | Strong native support | Depends on available integrations |
| Tag orders and customers | Native actions | Usually requires a connector |
| Hold fulfillment orders | Native action | Depends on integration support |
| Connect external applications | Supported through connectors | Often offers broader integration options |
| Send HTTP requests | Available on eligible Shopify plans | Depends on platform and plan |
| Build complex cross-platform workflows | Possible, but depends on available actions | Often more flexible |
For example, if your primary requirement is to receive a low-stock alert or tag a high-value customer, Shopify Flow may be sufficient.
However, if you want to connect Shopify with a CRM, accounting platform, lead management system, or several other applications in one workflow, a dedicated automation platform may offer more flexibility.
Our workflow automation guide provides additional context on choosing tools for different business automation requirements.
Best Practices Before Activating Shopify Flow Workflows
Automation can reduce manual work, but poorly configured workflows can create operational problems of their own.
Before activating a new workflow, keep these considerations in mind:
1. Start with a clearly defined business rule.
Decide exactly what event should trigger the workflow and what outcome you expect. Avoid creating automations without a specific operational purpose.
2. Use conditions carefully.
A condition should reflect the business rule accurately. For example, a low-stock notification should check both current and previous inventory quantities if you want to alert the team only when a threshold is crossed.
3. Review every action before activation.
Check notification recipients, tags, sales channels, and connected applications. A workflow with an incorrect recipient or action can create unnecessary disruption.
4. Test workflows with realistic scenarios.
Use test orders and appropriate inventory changes to check whether the workflow follows the expected path. Pay particular attention to True and False branches.
5. Avoid automating sensitive decisions without review.
High-risk order cancellation, payment capture, and inventory changes can have financial consequences. Start with notifications and manual review wherever the business process requires judgment.
6. Monitor workflow execution.
Review workflow runs and errors after activation. A workflow that was configured correctly may still encounter problems because of missing data, app permissions, or connector issues.
7. Keep the number of workflows manageable.
As the store grows, document what each workflow does. Consistent naming conventions and periodic reviews make it easier to maintain automation without creating overlapping rules.
Is Shopify Flow Worth Using for a Small Business?
For a small Shopify business, Shopify Flow can be a practical way to reduce repetitive administrative work without paying for a separate automation application.
Its biggest advantage is that it operates close to the store’s core data. Merchants can respond to inventory changes, organize orders, identify customers, and notify staff using a visual workflow builder.
It is particularly useful for businesses that:
- Manage a growing product catalog.
- Receive enough orders to make manual monitoring difficult.
- Need consistent inventory and fulfillment processes.
- Want to organize customers using tags and spending thresholds.
- Already use Shopify-compatible applications that support Flow connectors.
However, it is not a complete replacement for a broader integration platform. Stores with complex, multi-application workflows may still need tools such as Make or Zapier.
The most sensible approach is to start with a few high-impact automations, monitor their performance, and expand gradually as operational requirements evolve.
The objective is not to automate every task. It is to remove repetitive work while keeping important business decisions under control.