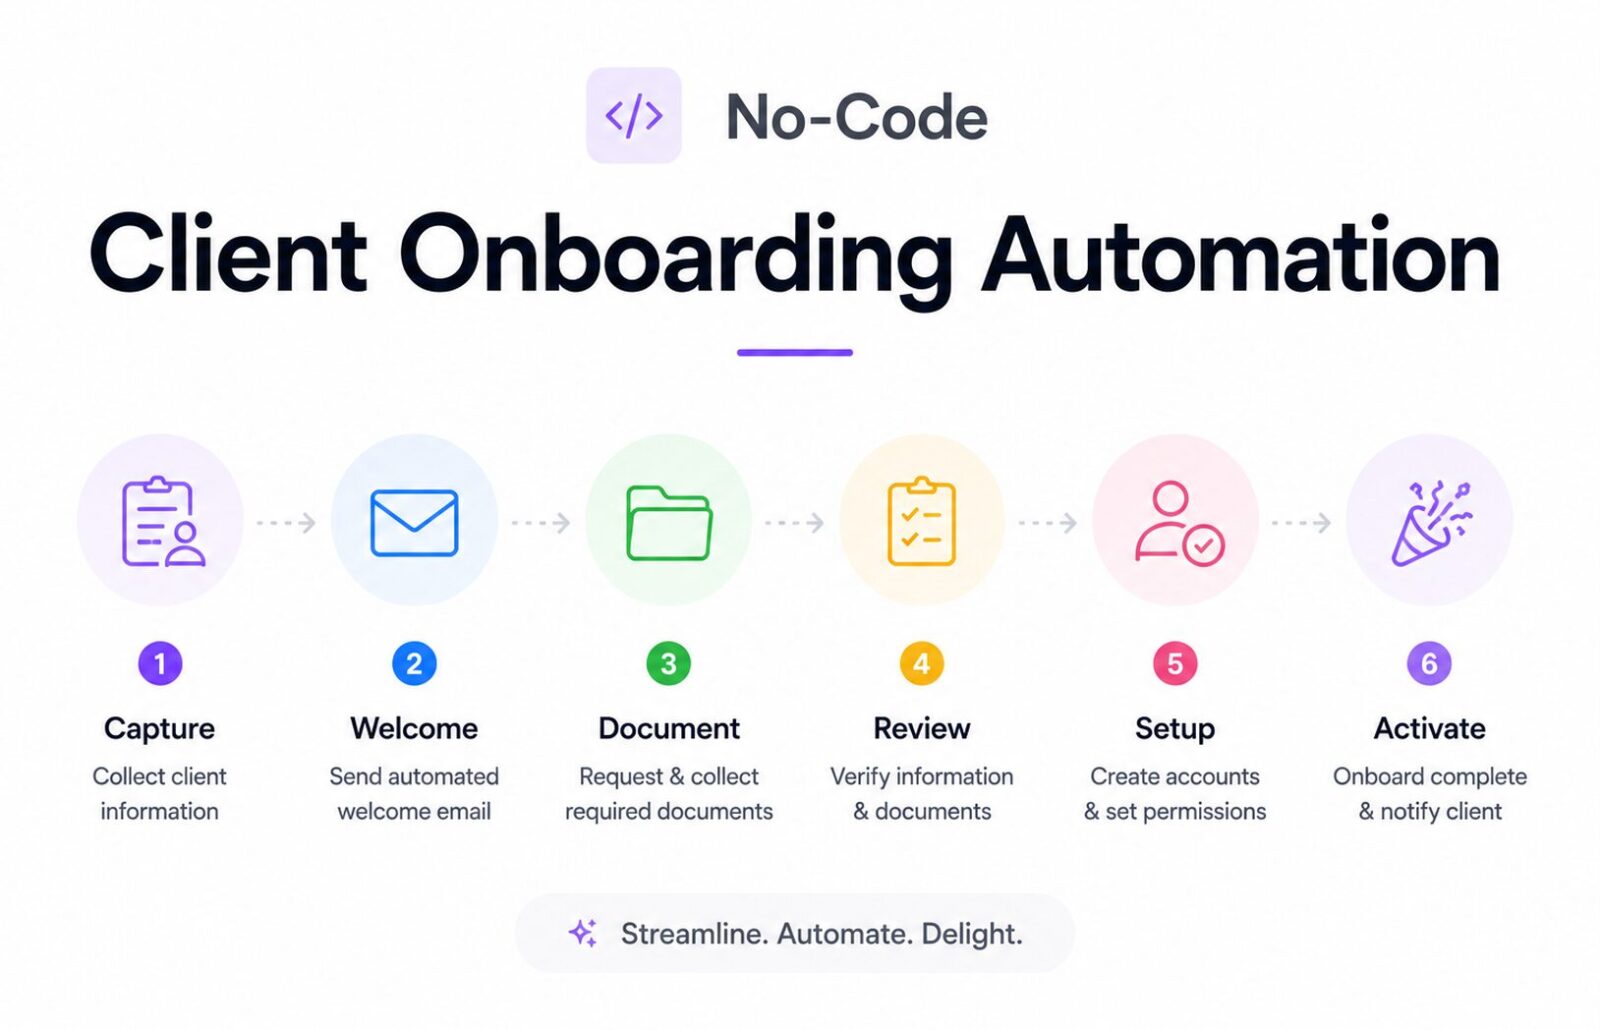
No-Code Client Onboarding Automation: How to Build a Multi-Channel Agency Rail Without Writing Code
Affiliate Disclosure: We review products independently. When you buy through our links, we may earn a commission or a compound recurring commission at zero extra cost to you. Read our editorial policy.
Updated: All tools and pricing verified against vendor documentation on July 16, 2026.
No-code client onboarding automation is not a tool purchase — it is an architectural decision. The agencies that onboard 30 clients per month with two operations staff are not using better software than the agencies using six people to onboard 15 clients. They have built a system that routes every new client through the same rail: intake form submission triggers a contract, contract signature triggers invoicing, payment received triggers project setup, project setup triggers the welcome sequence. No manual steps between contract close and kickoff call.
This guide maps that rail using tools available to any B2B service agency without writing code. The stack is Make.com for orchestration, Dubsado for client-facing intake, HubSpot for CRM, ClickUp for project management, and Gmail plus Slack for the communication channels. The specific tool choices are modular — the architecture applies to any equivalent stack.
What Multi-Channel Means in Client Onboarding Automation
The word “multi-channel” in client onboarding refers to something specific: a single client trigger (contract signed, payment received, form submitted) simultaneously touching multiple downstream systems without sequential human handoffs.
Most agencies operate single-channel onboarding without knowing it. A new contract is signed, then someone manually creates a HubSpot contact, then someone else sets up the ClickUp project, then a third person sends the welcome email. Three people, three separate actions, three failure points. If one step is missed or delayed, the client experience degrades immediately.
No-code client onboarding automation collapses that chain into a single trigger firing parallel downstream actions. Contract signed in Dubsado fires simultaneously to: HubSpot contact creation, ClickUp project setup from template, Slack notification to account manager, and welcome email sequence enrollment. The client receives a seamless experience. The ops team receives a Slack message. Nobody manually touches the workflow.
The Four Stages of a Client Onboarding Rail
A complete no-code client onboarding automation rail has four stages. Each stage is a trigger-action sequence that must complete before the next stage fires. Skipping stages, or allowing stages to fire out of order, creates client experience gaps that compound across every new engagement.
Stage 1: Intake and Qualification
Stage 2: Contract and Payment
Stage 3: Project Infrastructure
Stage 4: Communication Kickoff
The critical architectural principle: each stage completes before the next stage triggers. Do not fire project infrastructure setup before payment is confirmed. Do not send the welcome email sequence before project infrastructure is ready. Sequence integrity is what separates a rail from a collection of disconnected automations.
Stage 1: Intake and Qualification
The Intake Form
The no-code client onboarding automation begins before the contract. A well-structured intake form collects the information that populates every downstream system automatically:
- Client full name, company name, email address
- Service package selected (drives conditional contract routing)
- Project start date preference
- Primary communication channel preference (email or Slack)
- Billing contact if different from project contact
Build this form in Dubsado (using Smart Forms with conditional logic) or Typeform. Both tools pass form field data as variables into downstream automation steps. The form data becomes the source of truth that populates the HubSpot contact record, the ClickUp project name, the contract template variables, and the welcome email personalization, all without manual data re-entry.
Routing Logic on Submission
When the intake form is submitted, the first Make.com scenario fires:
Trigger: New form submission in Dubsado or Typeform.
Actions (parallel, not sequential):
- Create contact in HubSpot using form field data. Check for duplicate using HubSpot’s Find Contact step before creating; never create duplicate CRM records.
- Create a deal in HubSpot pipeline at “Onboarding” stage. Link to the contact just created.
- Send internal Slack notification to the new business Slack channel: client name, service package, project start date.
- Tag the submission in the CRM with the intake source (referral, website, LinkedIn) if captured.
Conditional route: Based on the service package field selected, route to the correct contract template. A brand strategy client gets one Dubsado contract. A monthly retainer client gets another. The routing happens automatically at form submission. No manual assignment.
TSA SCAR: Prevent Duplicate CRM Records Before They Start
A common risk in automated onboarding workflows is creating a new CRM record every time a form is submitted without first checking whether the contact already exists.
For example, an existing prospect may submit a new enquiry form, respond to a re-engagement campaign or enter through a different lead source. If the automation immediately creates a new contact, the same person can end up with multiple CRM records over time.
Duplicate records can distort reporting, trigger overlapping email sequences and create unnecessary manual cleanup.
TSA Recommendation: Add a Find Contact or equivalent lookup step before Create Contact. If a matching record exists, update it instead of creating a new one. Also define which field, such as email address, will serve as the primary identifier for matching contacts.
Stage 2: Contract and Payment
Contract Delivery
Once the intake form routes to the correct contract template, Dubsado’s Flow system delivers the contract automatically. No manual send required. The contract pre-populates with form field variables: client name, service description, project start date, and invoice amount.
On the Make.com side, a separate scenario monitors the Dubsado webhook for contract status changes:
Trigger: Contract status changes to “Signed” in Dubsado (webhook event: proposal.accepted).
Actions:
- Update HubSpot deal stage from “Onboarding” to “Contract Signed.”
- Create the project folder in Google Drive using the client name as the folder name. Subfolder structure:
/Contracts,/Deliverables,/Communications,/Invoices. - Send Slack notification to the account management channel: “[Client Name] signed — contract confirmed. Project folder created.”
- Trigger invoice delivery in Dubsado (automatic via Dubsado Flow, or via Make.com webhook action).
Payment Confirmation
Payment triggers the project infrastructure stage. Do not fire project setup before payment is confirmed — creating project boards for unpaid contracts creates workflow debt when the payment does not arrive.
Trigger: Invoice status changes to “Paid” in Dubsado (webhook: invoice.paid), or Stripe webhook invoice.payment_succeeded if billing runs through Stripe.
Actions:
- Update HubSpot deal stage to “Active Client.”
- Add contact to the “Active Clients” HubSpot list (triggers enrollment in onboarding email sequence).
- Send internal Slack alert: “[Client Name] payment confirmed — project setup commencing.”
- Fire Stage 3 trigger.
Stage 3: Project Infrastructure
ClickUp Project Setup from Template
This is the highest-value step in no-code client onboarding automation, and the step most agencies skip entirely — creating ClickUp projects manually per client at 20–45 minutes each.
Make.com’s ClickUp integration allows creating entire project structures from templates. The workflow:
Trigger: Payment confirmed (Stage 2 output fires Stage 3).
Actions:
- Duplicate the ClickUp project template for the client’s service package. Templates include: task lists, due dates relative to project start, assignee rules, status configurations.
- Rename the project with the client name and start date.
- Set due dates dynamically: project start date (from intake form) plus offset days per task. A 90-day brand strategy project sets kickoff call 3 days from start, discovery doc due 10 days from start, strategy presentation 45 days from start.
- Assign the project to the account manager identified in the HubSpot deal.
- Create a Slack channel for the project:
#client-[clientname]. Invite the account manager and project lead. - Post the ClickUp project URL into the new Slack channel.
- Update the HubSpot deal with the ClickUp project URL in a custom field.
At the end of Stage 3, the account manager has: a HubSpot deal record, a Google Drive folder, a ClickUp project board with tasks pre-populated, and a dedicated Slack channel, all created automatically from a single payment event.
Stage 4: Communication Kickoff
The Welcome Sequence
Welcome emails sent manually, or from a template without personalization, underperform against sequences triggered from real client data. No-code client onboarding automation enables welcome sequences that reference the client’s specific service package, project start date, and account manager by name because those variables are already in HubSpot from Stage 1.
Trigger: HubSpot contact added to “Active Clients” list (Stage 2 output).
HubSpot Workflow Actions (internal to HubSpot, no Make.com required):
Day 0 — Welcome email: personalized with client name, service package, project start date, and account manager name. Includes ClickUp portal link and Google Drive shared folder link.
Day 1 — Kickoff call scheduling link email: Calendly or HubSpot Meetings link for the account manager’s calendar.
Day 3 — Discovery questionnaire: a Typeform or Dubsado Smart Form requesting project-specific information. Link auto-generated and inserted into the email.
Day 7 — Check-in from account manager: HubSpot task created for the account manager to send a manual personal note. This is the one intentional human touchpoint in the automation rail — the point where personalized relationship building replaces automation.
Slack Welcome Message
Simultaneously with the email sequence:
Make.com Action: Post a welcome message to the project Slack channel from the account manager’s Slack account (using Slack’s post-as-user feature). The message introduces the project structure, links the ClickUp board, and lists the first three actions the client should expect.
This creates a coherent multi-channel experience: the client receives a personalized welcome email within minutes of payment confirmation, a Slack workspace invite, and a structured project board — all automatically, all before the account manager’s phone is in hand.
The Full Stack and What Each Tool Does
| Tool | Role in the Rail | Cost (Annual) |
|---|---|---|
| Dubsado Premier | Intake forms, contract delivery, invoice, Flows | $525/yr flat |
| Make.com Core | Orchestration layer connecting all tools | $108/yr |
| HubSpot Starter CRM | Contact, deal, list management, email sequences | $240/yr (2 users) |
| ClickUp Business | Project boards, templates, task management | $1,440/yr (10 users) |
| Google Drive | Client file storage, folder structure | Included in Workspace |
| Slack Pro | Internal notifications, client channels | $960/yr (10 users) |
| Total | Full no-code client onboarding automation stack | ~$3,273/yr |
For context: a single operations hire to manage manual onboarding at 20 clients per month costs $40,000–60,000/year in salary and benefits. The automation rail processes the same volume for $3,273/year in tooling, with better consistency and zero scheduling dependency.
Build Sequence: The Right Order Matters
Build stages in reverse order of dependency. Start with Stage 4 (welcome email), then Stage 3 (project setup), then Stage 2 (contract/payment), then Stage 1 (intake form). Build downstream systems before upstream triggers to avoid triggers firing into incomplete workflows during the build process.
Week 1: Configure HubSpot CRM with correct pipeline stages, deal properties, and list definitions. Build the welcome email sequence in HubSpot Workflows. Test with a dummy contact.
Week 2: Build the ClickUp project template for each service package. Verify due date relative offset logic. Confirm assignee rules map correctly to your team.
Week 3: Build Make.com Scenarios for Stage 3 (payment to project setup) and Stage 4 triggers. Test with webhook test events from ClickUp and HubSpot.
Week 4: Build and test Stage 2 (contract and payment scenarios). Connect Dubsado webhooks to Make.com. Verify Google Drive folder creation logic.
Week 5: Build Stage 1 intake form routing and CRM deduplication logic. Run a full end-to-end test with a dummy client submission. Verify every downstream system receives correct data.
Week 6: Live pilot with one real client. Monitor every step manually for the first three clients before removing oversight.
Common Build Failures in No-Code Client Onboarding Automation
Firing stages out of order. Project boards created before payment confirmation generate boards for prospects who never convert. Build explicit payment-confirmation gates before any project infrastructure action.
Missing the CRM deduplication check. As documented in the SCAR above: add Find Record before Create Record in every CRM-touching step.
Single-scenario architecture. Building one long Make.com scenario that handles all four stages is a maintenance liability. When Step 7 of 15 fails, debugging requires reviewing the entire scenario. Build one scenario per stage, chained via webhooks.
Using polling triggers instead of webhooks. Polling-based triggers (Make.com checking for new data every X minutes) consume credits on empty checks. Dubsado, HubSpot, ClickUp, and Stripe all support webhooks. Use them. Polling is the fallback, not the default.
Buy / Skip Decision Matrix
| Scenario | Verdict |
|---|---|
| Under 10 new clients per month | Build Stages 1–2 only. Manual Stage 3 is manageable at this volume. |
| 10–30 new clients per month | Build all four stages. Full automation ROI is clear above 10 clients. |
| 30+ new clients per month | Full rail plus ClickUp Automations for recurring task management within projects. |
| Multiple service packages with different contract terms | Dubsado conditional Flow routing is required — not optional. |
| Team of 1–2 people | Prioritize Stage 2 first (contract/payment). Eliminates the highest-friction manual step. |
| Existing HubSpot with custom objects | Verify Make.com HubSpot connector supports custom objects on your plan before building. |
| Zapier instead of Make.com | Valid substitute. Zapier’s task cost makes Stage 3 (project setup) expensive at volume — watch task consumption. |
FAQ
What is the minimum viable no-code client onboarding automation for a 3-person agency?
Stages 1 and 2: intake form routing to contract delivery, and payment confirmation triggering a Slack notification. These two stages eliminate the two highest-friction manual steps. Total setup time: 2–3 days. Total tooling cost: Dubsado Premier ($525/yr) and Make.com Core ($108/yr) = $633/year.
Does this automation work with Zapier instead of Make.com?
Yes, with a task cost consideration. The Stage 3 project setup step (creating a ClickUp project from template, renaming, setting due dates, assigning, creating a Slack channel) uses 6–8 actions per client. At 30 clients per month on Zapier Professional’s 750-task limit: 30 × 7 actions = 210 tasks on Stage 3 alone, plus tasks from other stages. Make.com Core at 10,000 credits per month handles the same volume with significant headroom at one-third the cost.
How do you handle multiple service packages with different onboarding sequences?
Build one ClickUp project template per service package. In Stage 1 of the Make.com scenario, add a Router module that evaluates the form submission’s service package field and routes to the corresponding ClickUp template duplication action. Each package gets its own Stage 3 route. The Stage 1 intake form’s package selection field drives the entire downstream routing.
What is the right trigger for payment in Stripe vs Dubsado?
If billing runs through Dubsado’s internal payment system, use Dubsado’s invoice.paid webhook. If billing runs through Stripe (for SaaS products, subscription retainers, or teams using Stripe as their primary billing processor), use Stripe’s invoice.payment_succeeded webhook. Do not use both simultaneously — duplicate triggers will fire Stage 3 twice and create duplicate project infrastructure.
How long does the full automation rail take to build?
Six weeks at 2–4 hours per week for an ops manager with no prior Make.com experience. Three weeks for someone familiar with Make.com scenario architecture. The longest step is ClickUp template configuration (the project template must be fully built before the duplication automation works). Build the template first.
What happens when a step in the automation fails mid-sequence?
Make.com logs failed scenario executions with error details. Configure Make.com’s error handler module on each stage scenario to send a Slack alert to the ops channel when a step fails, with the client name and failed step name. This ensures no client falls through the automation silently. Without error alerting, failed automations are invisible until the client contacts you asking why their project board is empty.